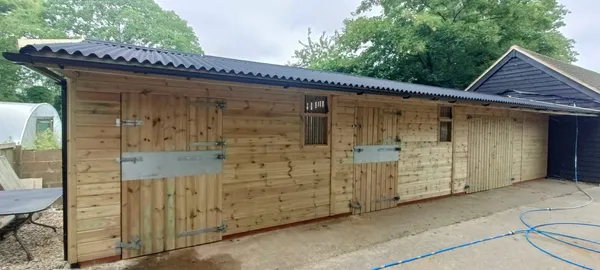
All external timber used in the build of our stables has been pressure-treated to provide a lifetime guarantee against wood rot. This prior treatment means you do not need to apply any additional agents to the outside of your building and can simply leave it to mellow with age. However, if there is a particular aesthetic you are looking to achieve, you are free to stain the outside of your stable to a colour of your choice. A stable coat can also help make your stables look cleaner and newer for longer.When applying a staining agent, however, there are a number of things to be aware of. As a rule you should always read the instructions on the particular brand of stain you are using but below is a general list of actions you should take before, during and after the staining process.
A quick sand down of chipped or rough areas will smooth down the area you are planning to stain and ensure the exterior is properly covered upon application.
Use water, household detergent and a stiff brush to clean way any mud or algae from the wood. This aids cohesion, ensuring the stain agent seeps into the fibres of the timber.
After cleaning the outside of your stable, you must allow time for the timber to dry before applying the stain agent. Excess surface water can stop the stain from penetrating the timber properly and can dilute the agent upon application, leading to a patchy finish.
Once the wood is dry, clean and smooth, apply the first coat using a brush, roller or HVLP sprayer. This initial stain coat will soak into the timber and start to colour the wood. Before starting this process, however, make sure there is no rain forecast as rain water will wash away the wood stain and lead to a patchy finish. After application leave to dry for a few hours (check specific product for exact times).
After a couple of hours it is advisable to apply a second coat. This will help enhance the colour and offer additional protection. Depending on the finish, you can even apply a third coat which will deepen the colour further and can leave a matt-like finish.
Remove any excess liquid and try to allow at least 24 hours of drying time before letting your animals back into the stables (if it was the internal stable walls you were treating).And you're done! The order processes and time scales mentioned in this article will variety by staining product so always read the instructions.